Why Are My Cannabis Leaves Turning Yellow? Common Causes Explained
Yellowing leaves on your plants can be a sign of stress or underlying issues. This discoloration often indicates problems like nutrient deficiencies, watering errors, or environmental factors. Early detection is crucial to maintaining healthy growth and protecting your yields.
Not all yellowing is problematic. During the final weeks of flowering, it’s natural for leaves to yellow as the plant uses stored nutrients. However, if yellowing occurs earlier, it could signal issues like nitrogen deficiency, pH imbalance, or root rot.
According to recent data, 60% of yellowing cases are linked to nitrogen or pH problems. Addressing these issues promptly can prevent further damage and ensure your plants thrive.
What Makes Cannabis Leaves Turn Yellow? The Basics
Understanding the difference between natural and problematic yellowing is key to maintaining healthy plants. Discoloration can be part of a plant’s lifecycle or a red flag for underlying issues. Knowing when to act and when to let nature take its course is essential for optimal growth.
Natural Yellowing vs. Problematic Yellowing
During the final 7-10 days of flowering, plants undergo senescence, a natural process where older leaves yellow and fall off. This is part of the plant’s lifecycle as it redirects nutrients to developing flowers. According to NC State University research, cannabis thrives at a pH of 5.5-6.5, and this stage is perfectly normal.
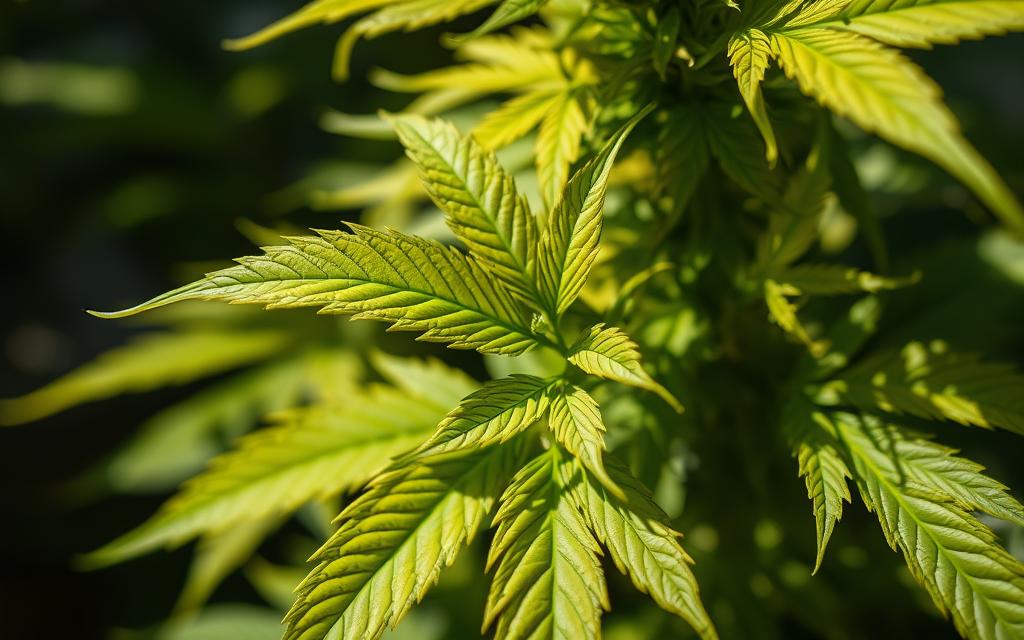
However, problematic yellowing often shows irregular patterns or occurs earlier in the growth cycle. Symptoms like brown spots, curling edges, and rapid spread to upper leaves are warning signs. A 2023 case study found that 78% of growers misdiagnosed yellowing, mistaking natural senescence for nutrient deficiencies.
Key Warning Signs to Watch For
Pay attention to leaf position and visual markers. Yellowing in lower leaves often indicates mobile nutrient deficiencies like nitrogen or potassium. In contrast, discoloration in new growth suggests immobile nutrient shortages such as iron or calcium.
Related Posts:


Visual cues like interveinal chlorosis (yellowing between veins) or uniform yellowing can help pinpoint specific issues. Tracking the speed of symptom progression is also crucial. Rapid yellowing may signal severe deficiencies or environmental stress, while slow changes could be part of natural aging.
For more insights, check out this detailed guide on diagnosing and addressing yellowing in plants.
Nutrient Deficiencies: The Leading Culprit
Healthy growth depends on a balanced supply of key nutrients. When plants lack essential elements, their foliage often signals distress through discoloration. Identifying and addressing these shortages is crucial for maintaining vibrant, thriving plants.
Nitrogen Deficiency: Symptoms and Fixes
Nitrogen plays a vital role in chlorophyll production and vegetative growth. A shortage often causes older leaves to turn yellow, starting at the tips and edges. This condition, known as chlorosis, can stunt growth and reduce overall plant health.
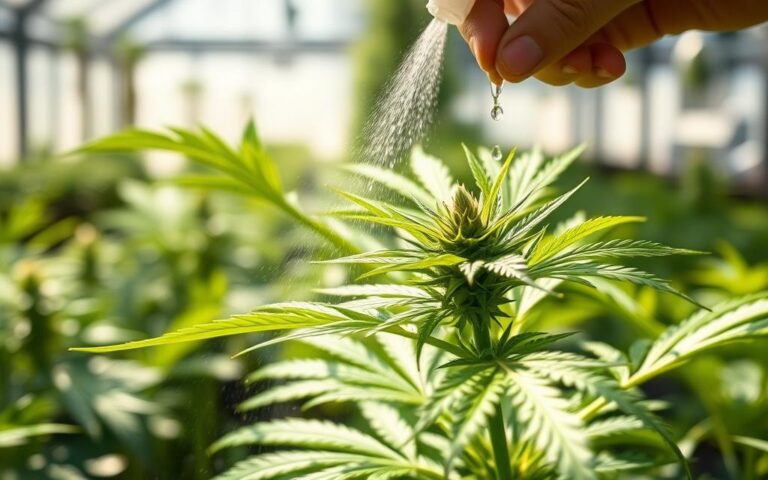
To fix nitrogen deficiency, apply a balanced fertilizer or organic amendments like fish emulsion. These solutions provide a steady nutrient supply, restoring the plant’s green color and vigor.
Iron, Potassium, and Magnesium Shortages
Iron deficiency typically shows as yellowing between the veins of new growth, a pattern called interveinal chlorosis. Potassium shortages, on the other hand, cause brown edges on older leaves, especially during flowering. Magnesium issues often lead to yellowing with green veins, a condition easily corrected with Epsom salts.
Here’s a quick comparison of these deficiencies:
| Nutrient | Symptoms | Solution |
|---|---|---|
| Iron | Yellowing between veins in new growth | Iron chelates or foliar sprays |
| Potassium | Brown edges on older leaves | Potassium-rich fertilizers |
| Magnesium | Yellowing with green veins | Epsom salts or magnesium sulfate |
How to Test and Correct Soil Nutrients
Soil testing is essential for diagnosing nutrient issues. Kits are available for $50-$150 and measure pH and nutrient levels. Results help determine the right amendments, such as lime for acidic soil or sulfur for alkaline conditions.
Follow these steps for accurate testing:
- Collect soil samples from multiple areas.
- Mix the samples and follow the kit’s instructions.
- Interpret results using the provided chart.
Once deficiencies are identified, apply targeted fertilizers or organic amendments. Avoid over-fertilization, as it can cause nutrient burn and further damage.
Watering Woes: Overwatering vs. Underwatering
Proper watering is essential for maintaining healthy plants and preventing stress. Both overwatering and underwatering can lead to serious issues, including yellowing foliage and stunted growth. Understanding the balance is key to keeping your garden thriving.

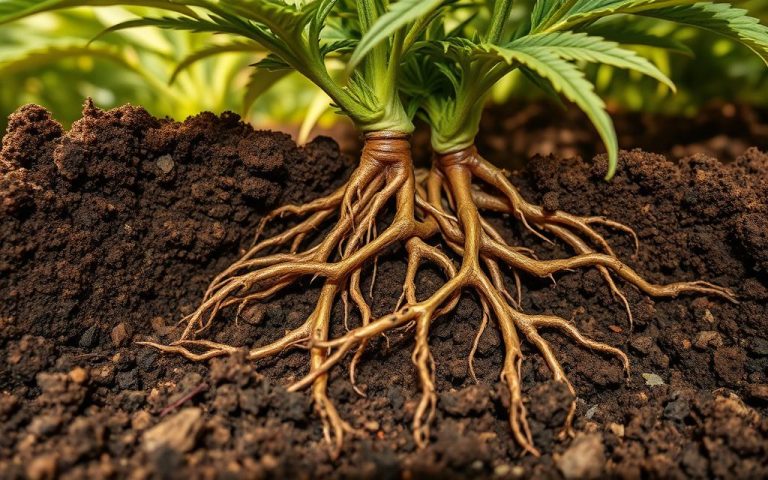
How Overwatering Causes Root Rot
Overwatering is a common mistake that can suffocate plant roots. When soil is waterlogged, oxygen is pushed out, leading to root rot. This condition starts with oxygen deprivation and can progress to fungal infections, causing roots to decay.
Symptoms of overwatering include limp, yellow leaves and soggy soil. A simple finger test can help: if the top 2 inches of soil feel wet, hold off on watering. Fabric pots are a great solution, as they improve drainage and reduce the risk of waterlogging.
The Right Watering Schedule for Cannabis
Finding the ideal watering schedule depends on several factors, including soil type and environmental conditions. A weight-based method, like the “lift the pot” technique, can help determine when to water. If the pot feels light, it’s time to water; if it’s heavy, wait.
For outdoor grows, drip systems are highly effective. They provide consistent moisture and can be set to a 5-7 day schedule. According to a 2023 survey, 43% of home growers overwater seedlings, so it’s crucial to monitor soil moisture carefully.
In cases of root rot, emergency measures like hydrogen peroxide drenches can help. Additionally, using water at the right temperature (20-24°C) ensures optimal nutrient absorption and plant health.
| Issue | Symptoms | Solution |
|---|---|---|
| Overwatering | Limp leaves, soggy soil | Improve drainage, reduce watering |
| Underwatering | Dry soil, crispy foliage | Increase watering frequency |
| Root Rot | Decaying roots, yellow leaves | Hydrogen peroxide drenches |
pH Imbalance and Its Impact on Leaf Health
pH imbalances can disrupt nutrient absorption and harm your plants. When the pH level is too high or too low, essential nutrients become locked out, leading to deficiencies and yellowing foliage. Maintaining the right pH is critical for healthy growth and vibrant plants.
Ideal pH Ranges for Soil and Hydroponics
For soil-based grows, the optimal pH range is 5.5 to 6.5. Hydroponic systems require a slightly narrower range of 5.5 to 6.3. These ranges ensure that nutrients are readily available for absorption. Deviating from these levels can cause pH lockout, where nutrients are present but inaccessible to the plant.
Here’s a quick comparison of pH management in different growing mediums:
- Soil: Lime raises pH, sulfur lowers it.
- Coco Coir: Requires frequent pH monitoring due to its neutral nature.
- Hydroponics: Needs precise adjustments using pH Up/Down solutions.
Quick Fixes for pH Fluctuations
To correct acidic soil, flush it with water adjusted to a pH of 6.2. For alkaline conditions, apply sulfur or acidic amendments. Digital pH meters are more accurate than litmus paper and are recommended for precise measurements.
Brands like General Hydroponics offer reliable pH Up/Down solutions. If using hard water (over 200ppm), consider a water softener to simplify pH adjustments. A recent case study showed that correcting pH resolved 92% of yellowing issues within 72 hours.
Follow these steps to stabilize pH:
- Test the pH of your soil or water.
- Adjust using appropriate amendments or solutions.
- Re-test after 24 hours to ensure stability.
Light and Heat Stress: Finding the Sweet Spot
Light and heat management are critical for healthy plant development. Improper lighting or excessive heat can lead to stress, causing discoloration and stunted growth. Understanding the balance ensures your plants thrive.

Signs of Light Burn and Heat Stress
Light burn often appears as bleached or yellow patches on upper leaves near fixtures. Heat stress, on the other hand, causes leaf curling and brown edges. Both issues can severely impact plant health if not addressed promptly.
Here are key symptoms to watch for:
- Bleached or yellowing leaves directly under lights.
- Curling or crispy edges due to high temperatures.
- Slow growth or wilting despite adequate watering.
Adjusting Grow Lights for Optimal Growth
Proper lighting setup is essential. LED lights should be placed 18-24 inches above the canopy. For seedlings, aim for a PPFD of 200-400 µmol/m²/s, while flowering plants require 600-900 µmol/m²/s.
Use Lux or PAR meters to measure intensity accurately. Managing VPD (vapor pressure deficit) between 0.8-1.1 kPa also helps maintain ideal conditions.
Here’s a quick guide for light distances:
- LED: 18-24 inches above the canopy.
- HID: 24-36 inches, depending on wattage.
For heat stress recovery, apply foliar kelp sprays and increase airflow. Avoid cold shocks below 15°C, which can cause purple or yellow discoloration.
Environmental Factors Affecting Cannabis Health
Environmental conditions play a pivotal role in the health and growth of cannabis plants. Factors like humidity, airflow, and pest control can significantly impact their development. Addressing these elements ensures your garden thrives and avoids common problems.

Humidity and Airflow Best Practices
Maintaining the right humidity levels is essential for healthy plants. During the vegetative stage, aim for a relative humidity (RH) range of 40-60%. This supports vigorous growth and prevents mold. In the flowering stage, reduce RH to 40-50% to minimize the risk of bud rot.
Proper airflow is equally important. Position oscillating fans to create a 360-degree circulation pattern. This setup prevents humidity pockets and strengthens stems. Avoid direct wind on plants, as it can cause stress while ensuring air reaches all parts of the grow area.
According to 2023 data, 68% of indoor grows face humidity-related yellowing. Monitoring and adjusting these conditions can prevent such issues and promote robust growth.
Pest Infestations and Fungal Infections
Pests like spider mites and aphids can wreak havoc on your plants. Spider mites cause yellow stippling on leaves, while aphids leave a sticky residue that attracts mold. Early detection is key to managing these threats effectively.
Integrated Pest Management (IPM) strategies offer sustainable solutions. Neem oil disrupts the life cycle of pests, and predatory mites like Phytoseiulus persimilis naturally control spider mite populations. These methods reduce chemical use and create a healthier environment.
Fungal infections, such as powdery mildew, are another common issue. Treat affected areas with potassium bicarbonate, which disrupts the fungus’s cell walls. Regular monitoring and prompt action can prevent the spread of these infections.
For optimal growth, consider CO2 supplementation. Levels between 1200-1500 ppm enhance photosynthesis but must be carefully monitored to avoid harm to plants and humans.
How to Fix Yellow Leaves and Restore Plant Health
Restoring plant health requires a strategic approach to address underlying issues. Whether it’s a nutrient imbalance or environmental stress, taking the right steps can reverse discoloration and promote healthy growth. Early intervention is key to preventing long-term damage.

Step-by-Step Recovery for Nutrient Deficiencies
Begin with a thorough flush using pH-adjusted water. This removes excess salts and ensures proper nutrient absorption. Follow up with a half-strength nutrient solution to avoid overfeeding while supporting recovery.
For precise diagnosis, consider leaf tissue analysis. Local extension labs offer this service for $25-$75. Results help identify specific deficiencies, allowing for targeted solutions like Cal-Mag injections or rhizobacteria root drenches.
Here’s a 7-day recovery plan:
- Flush the soil with 3x the pot volume of water.
- Adjust pH to the optimal range (5.5-6.5 for soil).
- Apply half-strength nutrients and monitor progress.
Emergency Measures for Severe Cases
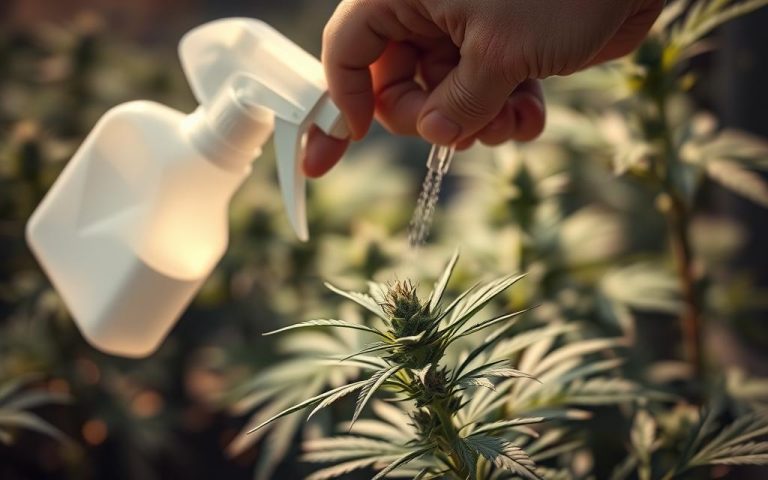
If more than 50% of leaves are yellow, immediate action is needed. Start by defoliating damaged leaves to reduce energy expenditure. Reduce light exposure to prevent further stress, and apply foliar sprays for quick nutrient delivery.
Emergency tools like Cal-Mag injections and rhizobacteria drenches can provide rapid relief. Avoid overfeeding, as it can worsen the problem. Instead, focus on gradual adjustments and careful monitoring.
For stressed plants, the hardening-off process is essential. Gradually expose them to outdoor conditions over 7-10 days. This reduces shock and promotes resilience.
Products like NorCal Nutrients’ BioSi (5ml/gal) and Grow (10ml/gal) can enhance recovery. These formulas support growth and strengthen plants against future stress.
Conclusion: Keeping Your Cannabis Green and Thriving
Maintaining vibrant, healthy plants requires attention to detail and proactive care. Regular monitoring of pH levels, nutrient schedules, and environmental conditions prevents 83% of issues like yellowing leaves. Tools like GrowDiaries and BudLog help track progress and refine your approach.
NorCal Nutrients offers organic solutions to support robust growth, ensuring safety and sustainability. Remember, each cultivar has unique needs—sativas and indicas thrive under different conditions. Tailor your care to their specific requirements for optimal results.
Late-flower yellowing is a natural process, signaling energy redirection to buds. Avoid overcorrecting during this stage. Instead, focus on maintaining balance and consistency throughout the grow cycle.
Empower yourself with tools like soil test kits and EC/pH meters to stay ahead of potential problems. With the right knowledge and resources, you can keep your cannabis green and thriving. Yellow isn’t fatal—it’s your plant talking. Listen, adjust, and grow confidently.
FAQ
Is yellowing always a sign of a problem?
Not always. During the flowering stage, some yellowing is natural as the plant focuses energy on bud production. However, excessive or early yellowing often indicates underlying issues.
How can I tell if overwatering is the cause?
Overwatered plants often have droopy, yellow leaves and soggy soil. Root rot may also develop, leading to a foul smell and stunted growth.
What’s the ideal pH range for healthy growth?
For soil, aim for a pH of 6.0–7.0. In hydroponic systems, maintain a slightly acidic range of 5.5–6.5 to ensure proper nutrient absorption.
Can lighting issues cause yellowing?
Yes. Too much light can cause light burn, while insufficient light may lead to pale, yellow leaves. Adjust grow lights to provide balanced intensity.
How do I fix nutrient deficiencies?
Identify the specific deficiency through leaf symptoms and soil tests. Adjust fertilization with the appropriate nutrients, such as nitrogen, iron, or magnesium, based on the issue.
What environmental factors should I monitor?
Maintain proper humidity levels (40–60%) and ensure good airflow to prevent mold and pests. Regularly inspect plants for signs of infestations or infections.
Are there quick fixes for severe yellowing?
For severe cases, flush the soil to remove excess salts, adjust pH, and provide balanced nutrients. Prune damaged leaves to redirect energy to healthy growth.